Tuesday, July 28, 2015

Review of "A Cabin Full of Food (Mostly Recipes)"


"A Cabin Full of Food" Cookbook Review: 5 Stars

Generally I don't buy cookbooks, because I am more of a cook with what I have on hand type of gal. What first drew me to Marie Beausoleil's cookbook was her “What to Expect” & “What Not to Expect” pages. 
Here is a picture I took of the "What Not to Expect" page, shared with Marie's express permission

She lives on an off-grid homestead and everything she says is simple & plain. Just reading these pages on the "Look At" feature on Amazon convinced me to order the cookbook.


Then the recipes. The recipes Marie shares focus “heavily on foods that can be grown, raised or made at home. Other recipes then refer to these basic ingredients.”
As she states “This is not a 'Go Shopping' cookbook.”

There are almost 1,000 recipes that are geared towards off-grid cooking scenarios that can be made without electric appliances. That cinched it for me.

The A Cabin Full of Food” cookbook arrived on Friday and was sitting on or porch when we came home from the farm.


Just before we left Mr. Perky was cutting up some apricots we had on hand, vacuum sealed them and threw them in the freezer. His only venture into caning is jam & he was talking about making apricot jam. First thing I looked for when I opened the cookbook was an apricot jam recipe. Sure enough there it was on page 248 and the instructions were so simple.
These recipes were gleaned from many people who shared handwritten family treasures and old cookbooks with Marie's sweet comments embroidered about. There are also Old Order Mennonite recipes.
The categories are unique & simple:
  • Make Your Own: things like Home Made Hot Chocolate
  • Herb & Spices: such as Herb Vinegar Infusions
  • Grains: two examples are Shoofly Pie & Four Types of Scones
  • Vegetables: Mashed Potato Biscuits
  • Dairy & Eggs: including Master Sauces.
  • Dairy: I want to try the Baked Butterscotch Pudding
  • Legumes: how about Canning Baked Beans
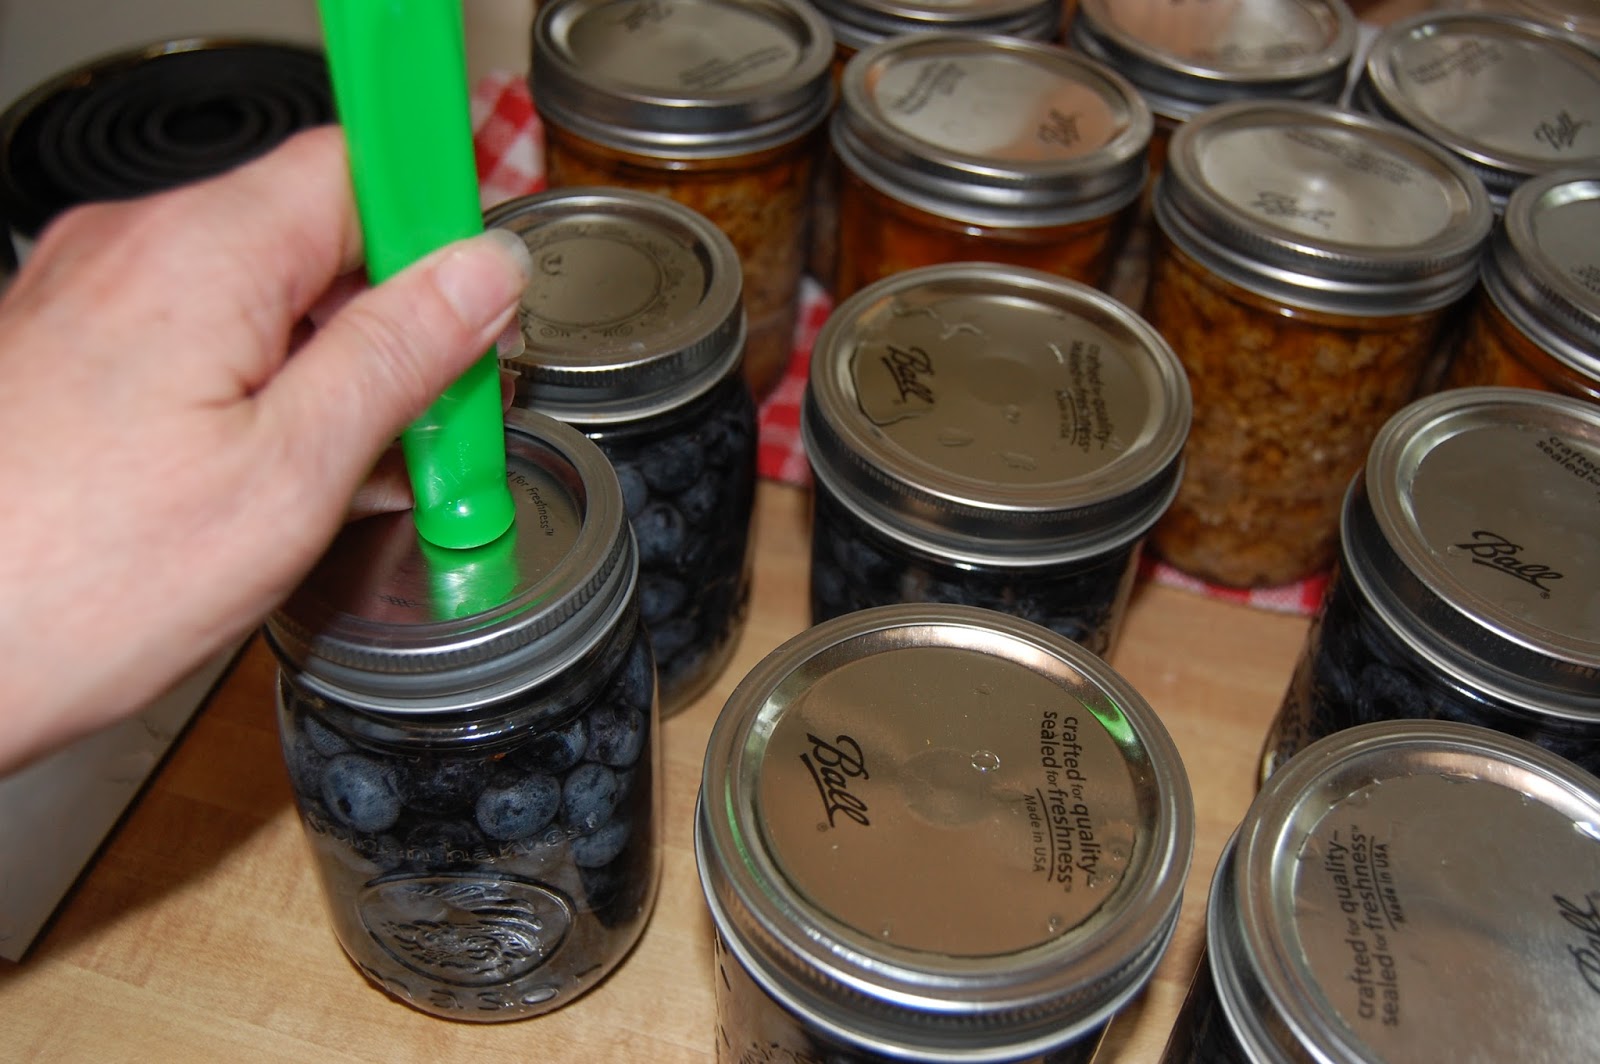
  • Trees & Fruit: I know I will like the Blueberry Juice Concentrate. Blueberries are in season and I did this last year.
  • Meat: I definitely want to try the Rabbit Casserole.
Do you really want to save money? Our larders should have basics spices and ingredients by now. This book caters to the type of cooking we should be practicing, from scratch, with our fresh and stored foods.
Bonus: Marie also added a seasonal calendar of things to be preparing for and doing on a homestead.

You can also take a peek through the link below, at the huge list of recipes with the “Look At” feature on Amazon. 
I am already turning down page corners of recipes I want to try. This is a book that I highly recommend and I believe it will fast become a classic must-have cookbook. 


I hope you enjoyed this post and I encourage you to join our growing community at Perky Pepping Gramma on Facebook. Also, if you would like to follow Marie on Facebook, her page is Just Plain Marie (2307). I participate in the Amazon Associate program, where I receive a small referral commission for products that I recommend. But, I will tell you I only recommend items that I own and use. Below are just a few more products that I use that work well for grid-down living. Thank you for our support!

      Featured at the Homestead Bloggers Network

I participate in the Amazon Associate program, where I receive a small % commission for linking products that I recommend. I only recommend products I personally used and like. Your support is very appreciated, anything you choose to purchase through my link, is helping me to be able to share more things that I do with you. Perky Gramma Teaches Amazon link.

“Home, Debt-Free, Home” Chapter 4 “The First BIG HONKING, SCARY STEP”

Home, Debt-Free, Home”
Chapter 4 
“The First Big Honking, 
Scary Step”

This is the one step that was the absolute scariest, but it was based on the firm belief that we are riding another financial bubble that WILL burst sometime.
Do you remember the financial crash in 2008? Things got really tough in 2008. Thankfully we have never been without a job for more than a few weeks, so we managed to survive. Still like millions of people we lost heavily on our retirement accounts, my stock and the value of our house. This was a light bulb moment for us, the realization that the lie of a fiat financial system was not sustainable. After reading the book “Aftershock” by David Wiedemer & Robert A. Wiedemer, we started to make our plan. Again I need to state that while I appreciate this book's explanation of how and why the system isn't working, I don't think that their answer is a valid solution for us. Our decisions have been based on creating a self-sustainable home and lifestyle that is no longer dependent upon the economy.
The powers that be, do everything they can to control inflation by artificially bolstering the economy. But let me ask a couple questions. Do you feel financially secure at this time? Or do you feel you are still struggling to make ends meet?
This is where the rubber meets the road...in the first challenge I asked “What is it you really want and what are you willing to do to attain it?”


We took the financial and tax hit &
withdrew EVERYTHING 
from our retirement accounts.


We cashed the checks and took the cash out of our accounts. Now mind you, at this point we had our plan of action ready to find another home that was less expensive, in an area where the cost of living was far less expensive & we were prepared to downsize our life. We had talked extensively about our plan and I had prayed a lot about our decision. We decided that we firmly believe that the financial system is going to crash again, no matter what false stop-gap measures the government employs. If you have been watching what is going on around the world, there are states that are bankrupt and other governments that have collapsed. I am not trying to created fear, I am just sharing what I see happening.
Again, I am not a financial adviser, we are just two simple people who are opting out of the bleak economy picture and establishing a debt-free lifestyle. Don't jump & make this particularly move now. You need to thoughtfully come up with a plan. But, I can tell you that this “big, honking scary step” enabled us to prepare to buy our new home for cold hard cash that we own, not the bank.
We just made the choice to do whatever it takes to be in control of our financial future & made a plan and followed the plan.

Feel free to join our community at Perky Gramma Teaches on Facebook. We have a nice little group of people and we share various vintage skills & tips. It's all about the journey of farming/homesteading.

I participate in the Amazon Associate program, where I receive a small % commission for linking products that I recommend. I only recommend products I personally used and like. Your support is very appreciated, anything you choose to purchase through my link, is helping me to be able to share more things that I do with you. Perky Gramma Teaches Amazon link.


Sunday, July 26, 2015

OMGoodness! The Very Best Blueberry Juice Ever!

My life has been changed! Seriously, the difference from how I was making blueberry juice before and using a juicer/steamer is like light & day. 
In July 2015 I got to make blueberry juice with a juicer/steamer.
In my previous post I thought the juice I was making was not difficult, albeit time consuming. 
Next the product description from Amazon: "With a 11-quart capacity, this juicer steamer offers plenty of room for high-volume juicing, Simply add fresh fruit in the top container, fill the bottom container with water, and bring to a boil on the stove top. The resulting steam gently extracts the juice, which drips into the center pan where it can be collected from the surgical-quality tube. Drink the vitamin-rich juice fresh, or save it for making jelly or syrup. Without the center pan and tube, the juicer steamer can also be used to steam vegetables on the stove top. Ruggedly built, the juicer steamer features gleaming stainless-steel construction with a bottom that consists of a layer of aluminum sandwiched between two layers of stainless steel for fast, even heat distribution. Side loop handles on each of the three vessels help ensure safe, secure transport, and its secure-fitting lid with a loop handle helps keep in heat, moisture, and nutrients. Instructions and a recipe book come included."
This is what it looks like:


Here is how simple it was to make the juice; we set the base on the stove, added water, placed the collection pan & strainer basket on top. Note the hose is clamped to the top part of the juicer. Then added 2 gallons (16 pints) of blueberries inside. Next we added to lid.


Then we heated the steamer to a gentle boil. The book said to boil for 60 minutes, but it took less time. 
This part is a little tricky, but take your time and you will be fine. You unclamp the hose (using hotpads and a bowl, because the liquid is VERY hot) and allow the juice to pour into a canning jar. When the jar is full add a clean new lid and ring. 


Then we used a boiling water bath, with a rack (25 mins) to seal the canning jars.


I have to tell you this juice is an amazing elixir of blueberry joyfulness!  Plus, as you know blueberries are considered a super food. So nutritious & the perfect afternoon pick-me-up.

The steamer/juicer is also perfect for getting great juice for making jelly. There is a lot of other things you are able to do with the juicer/steamer including blanching vegetables. I am so happy I found out how easy this was to do. I have been saving my money to buy one & I actually just ordered mine. We were using the Mehu Liisa.


Feel free to join our community at Perky Gramma Teaches on Facebook. We have a nice little group of people and we share various vintage skills & tips. It's all about the journey of farming/homesteading.


I participate in the Amazon Associate program, where I receive a small % commission for linking products that I recommend. I only recommend products I personally used and like. Your support is very appreciated, anything you choose to purchase through my link, is helping me to be able to share more things that I do with you. Perky Gramma Teaches Amazon link.


Friday, July 24, 2015

4 TIPS: Freezing Blueberries

I know that freezing blueberries seems very simplistic. Here a few nifty tips on freezing your blueberries.
Freezing Blueberries:
We love having blueberries all year, so we actually freeze a lot of them for our own use. Personally I find that freezing high quality blueberries is well worth it when they are in season instead of using blueberries from the grocery store.
TIP: Do not wash the blueberries before freezing this will cause them to freeze together. Remember the berries I get are grown without chemicals, pesticides or herbicides. If you are unsure about the growing conditions of your blueberries and feel that you need to wash them, then make sure you pat them dry before freezing. It you pack them dry, they will roll out easily from the freezer bags.
Place dry, unwashed, and unsweetened berries in freezing containers or plastic bags. Seal and freeze. The berries will freeze individually and pour out like marbles. Keep frozen until ready to use.
I am finally getting some to time to sit and tell you what I did last weekend. Last week I spent some time unpacking 120 pints of blueberries and repacking them in gallon zip-lock freezer bags. TIP: Eight pints will fit into a gallon bag.
Another great TIP: I had two large pots that I stuffed the freezer bags in when I was filling them. That way it had more of a flat bottom to allow me not to have to use my hands to hold the bag open as I poured and the few berries that missed went into the pot instead of rolling all over my porch. Though a few berries still escaped. 


This week I added 20 gallons of blueberries to my freezer!


Then you know me, I made up little packages with coffee and a pint of blueberries and a card from Gold Hill Blueberry Farm to give to my new neighbors and an electrician that came out to the farm to run electricity to our new garage. One, I do whatever I am able to do to promote my friend's business, in fact I admin on their page to help them out. 
Two, I have been a little surprised that the neighbors (well one has) haven't made the effort to introduce themselves. So, I am reaching out to them. I will do everything in my power to create community where I live!


One last TIP: Do not thaw your frozen blueberries when you are going to bake with them. Always add them frozen so they will not "bleed" in your baked goods.

Feel free to join our community at Perky Gramma Teaches on Facebook. We have a nice little group of people and we share various vintage skills & tips. It's all about the journey of farming/homesteading.

Just a Word of Thanks:
I participate in the Amazon Associate program, where I receive a small % commission for linking products that i recommend. I only recommend products I personally used and like. Your support is very appreciated, Anything you choose to purchase through my link, is helping me to be able to share more things that I do with you. Perky Gramma Teaches Amazon link.

Thursday, July 23, 2015

“Home, Debt-Free, Home” Chapter 3: 4 Keys to Find Cash and...

"Home, Debt-Free, Home"

Chapter 3

4 Keys to Find Cash and 
Make Your Money Work for You


During the first challenge I mentioned that I took on a personal challenge where I could only spend $250 for one month. I invited you to do the same. The details were:
1) Exceptions: the mortgage payment, bills that need to be paid. But I wrote down those bills in detail. This will help you face the reality of your debt.
2) Each week: Everything else came from that $250. I wrote down how much I spent and what I spent it on. At the same time I was determined to pay attention to what I was really doing.

It really was a tough challenge & I learned a lot about my spending habits, which honestly were pretty good. After the challenge I was able to see I normal bought too many things I didn't really need & I ate out too often.
The bonus of taking the challenge was I actually found I could live on about 20% less if I simply curtailed these habits. 
KEY 1: I started paying cash for everything, when I ran out of money, I had to stop spending. That extra 20% went to paying extra money on a credit card. I basically found extra money.
We had already been focusing on paying off our credit cards, this finally put us over the top. The only exception to this is I have one cash back credit card that I use on Amazon. It's the Amazon card & even before I hit the order button, I pop over to my bank account and make the exact payment online before I purchase the items in my cart. This keep in line with if I don't have the money in my account, I don't buy at that time.
Once we pay our basic bills, we pull all the cash out of our accounts and save that money at home. 

EXAMPLE: I am purchasing two medium sized storage units for my new bathroom from Amazon. 1) I took money from home, 2) went to the bank to deposit the cash, 3) so I could make this purchase and 4) paid the purchase off immediately from my account.
Why does this help? I really had to determine that this was what I needed and these extra steps made me far more thoughtful about my purchase than if I was simply plunking the purchase a credit card. 
KEY 2: Make your money work for you. If I am making a purchase from Walmart, I go through a site called Shop at Home.com. I can get 3-5% back on purchases. This takes awhile to accumulate. But for me, every little bit helps. This week I am receiving a check back for $20, which I will cash and put it in my cash at home savings.
About having my information out there; unfortunately that boat sailed a long time ago. I will be reevaluating this after I move. On will only make a purchase after I reach the $35 free shipping level. Some other little tips:
  • Learn how to do it yourself
  • Buy used, save the difference
  • Have a yard sale
  • Sell stuff through local on-line resources
  • Learn to repair something instead or running out and buying something new.
  • Start a garden, even if it is in containers on your porch
  • Use Coupons, but actually put that money aside that you save.

Key 3: Find anyway to get rid of stuff you don't need and take the cash and apply it to paying down your debt. I am currently selling all sorts of stuff I really don't need like those Beanie Babies I talked about in the last post for cash to add to my “savings”.

KEY 4: Plan every single purchase you make. I basically put off going INTO a store, until I have to & I plan every single purchase I make.
See so far there is no magic trick to getting out of debt.
While you are here, if you put that $20 bill in the envelope on your fridge like I asked, add another one.
Under the category of learn how to do it yourself, here are some items that I use and find helpful. Maybe you will too.

Feel free to join our community at Perky Gramma Teaches on Facebook. We have a nice little group of people and we share various vintage skills & tips. It's all about the journey of farming/homesteading.

I participate in the Amazon Associate program, where I receive a small % commission for linking products that I recommend. I only recommend products I personally used and like. Your support is very appreciated, anything you choose to purchase from Amazon through my link, is helping me to be able to share more things that I do with you. Perky Gramma Teaches Amazon link, Since I don't receive the commission on my own purchases, I actually gift them to another blogger.

What I Did This Weekend: Chatting and Pressure Canning


A long time ago a dear friend told me that when women's hands are busy they share their hearts. I find that to be very true. One of my favorite things to do is go over to my friends house. This last weekend she had picked a boat load of green beans and we pressure canned them on Saturday.
Along with her teen aged daughter we spent the day snapping, canning and chatting.  

These days people are so wrapped up in their electronic devices & running to and fro that sometimes we forget to actually engage in life. That is just ones of the reasons I continue to do what I do...
Very few simply take the time to be with each other. 
It's actually kind of interesting because she is the person who taught me how to pressure can, I forced her to learn how to can meats and now she was asking me questions through out the process. 

Pressure canning green beans is really very simple. Sorry I didn't get a lot of pictures this time. This time we used hot pack (using hot water to fill the jars for canning).
1) First you snap the ends of the beans and break them into smaller pieces. Rinse the beans well. 
2) Have your clean jars, lids and rings ready.
3) We added the green beans, pushing them in well and added hot water, leaving about 1/2" head space (or room) at the top of the jar.
4) Wiped the top of the jar to make sure it was clean. Then added a new, clean
lid and ring to the jar.
Here we are mid-process. Note the clean jars up front ready to be filled. The filling station is towards the right. The filled jars (with hot water) are sitting ready to pop in the pressure canner. We were doing 7 quarts at a time. Oh and those are pickles fermenting on the right.


NOTE: You need to pressure can green beans if you are canning they from the garden because of the acidity level.
5) We pressure canned the beans at 11# of pressure for 25 minutes.

We were using this great Ball Canning magazine for our instructions and timing. Look at the quaint, retro pictures.

6) Afterwards we let the canner cool down and when the pressure was at zero, we opened the canner, pulled out the jars and listened to them "ping"! That is the favorite sound for a canner.
In the end we had 24 quarts of green beans done and had solved most of life's problem. I hope you have a canning friend like I do. Us being goofy!


BTW, the picture of the well isn't crooked, the old well is. Anyway that is one of things I did this last weekend. What did you do?
Things we used this weekend.


I participate in the Amazon Associate program, where I receive a small % commission for linking products that I recommend. I only recommend products I personally used and like. Your support is very appreciated, anything you choose to purchase through my link, is helping me to be able to share more things that I do with you. Perky Gramma Teaches Amazon link,


Wednesday, July 22, 2015

How To Make Blueberry Juice: Blueberry Week

What's a perky gramma to do with all these blueberries? I have dehydrated blueberries, I have pressured canned them with simple syrup...my girlfriend at Gold Hill Blueberry Farm recently made blueberry juice so I decided why not learn a new skill! She has a fancy juicer, which I now have on my wish list to purchase. Piecing together how to make blueberry juice wasn't too hard and the process wasn't difficult, but after making three fairly large batches of juice, it definitely seems worth the money.
I only found one place that gave details on how to make blueberry juice, but I modified half the steps so here goes.

1. These berries needed complete cleaning, removing the unripe berries, leaves and twigs. Plus they were frozen in bulk. The berries then went into a pot with enough water to just cover the berries. Bring to a slow boil, mash the berries, then bring back to a boil and remove the pot from the heat. I used a small strainer to catch an occasional twig or unripe berry I missed as it boiled to the top of the pot. Cool the juice down. This was very helpful for the next step.


2. Pour the juice and berries into a jelly bag. Collect the juice in another container. Since I was doing multiple batches, I actually used my canner for the juice. I had a lot of juice! When it is cool enough to handle squeeze the bag to get all the juice out of the berries. You might consider wearing gloves, as I did after my first batch. As you know blueberries stain. LOL. What is left in the bag (mushy pulp) put in your compost container.


3. These blueberries are sweet (not acidic), so I felt it was important to use caution and I decided to pressure can my jars of juice. I also decided to not add additional sweeteners at this point. I added the juice quart jars. I pressure canned them at 10# of pressure for 10 mins.


While I personally haven't made jelly, I find my jelly strainer bag indispensable. I have used it when separating my milk kefir and today for juicing. I also have spare bags, which is great. After today my first bag is stained blue. Also, the Presto 23 quart pressure canner is a good deal if you are just starting out canning.
If you like learning vintage skills like this blueberry juice, I would love to have you join our community at Perky Gramma Teaches on Facebook.


And I have added this Stainless Steel Juicer/ Steamer to my list of things to buy. I watched my girlfriend use it and it looks like it is worth the investment.


I participate in the Amazon Associates program, where I receive a very small commission for products that I recommend. I only recommend products that I have personally used and like. Your support costs you nothing extra, in fact anything you purchase through my Perky Gramma Amazon Associates link helps me to be able to stay home and blog for you. Words can not begin to express how much I appreciate your help. Thank you!


Sunday, July 19, 2015

How to BWB Beautiful Blueberries in Simple Syrup...

Mr. Perky brought home a flat & 1/2 of fresh blueberries home from "Gold Hill Blueberry Farm" on Friday. If you live in Virginia or (northern) North Carolina this is an awesome place to pick up fresh PYO blueberries & raspberries. You are able to find them on Facebook.
They don't use any chemicals or pesticides on their plants.
What is a girls to do with ALL these berries? 
Thankfully fellow blogger posted a recipe. Who sadly isn't posting any more. 


Strange as it may seems, I am less comfortable with water bathing. I have only done a few batches.  I BWB 8 pints of fresh blueberries in simple syrup on Sunday.
It was very easy! These are her instructions fro simple syrup: which are still available online: Berries are Beautiful.

First, make a light simple syrup with 5 3/4 cups water to 1 3/4 cups sugar


Simmer until the sugar is melted.


Add 1/2 cup of the simple syrup into each clean sterilized jar.
 Add berries (leaving 1/2" head space). Release the air bubbles. :)


Add more simple syrup to fill jars, maintaining 1/2 head space.


Wipe the rims...


Look how awesome they look!


Add sterilized lids & rings.


Place them in you canner. I used my pressure canner, BUT didn't pressure can them. you bring the water up to boiling then BWB pints for 15 minutes & quarts for 20 minutes.


 It was very simple! I was excited to see how beautiful they turned out. 


After this I purchased a Boiling Water Bath Canner. I have been friends with Gold Hill Blueberry Farm for about 20 years. If you would like to learn more about vintage skills like this, please feel free to to join our community at Perky Gramma Teaches on Facebook.


I participate in the Amazon Associates program, where I receive a very small commission for products that I recommend. I only recommend products that I have personally used and like. Your support costs you nothing extra & is very appreciated as it helps me to be able to stay home and blog for you. Thank you!